
Measure, Don't Guess
How simple acoustic measurements turn a listening complaint into evidence.
By the end of this lesson…
Know what a room measurement can and cannot tell you, and how to capture a repeatable baseline before making changes.
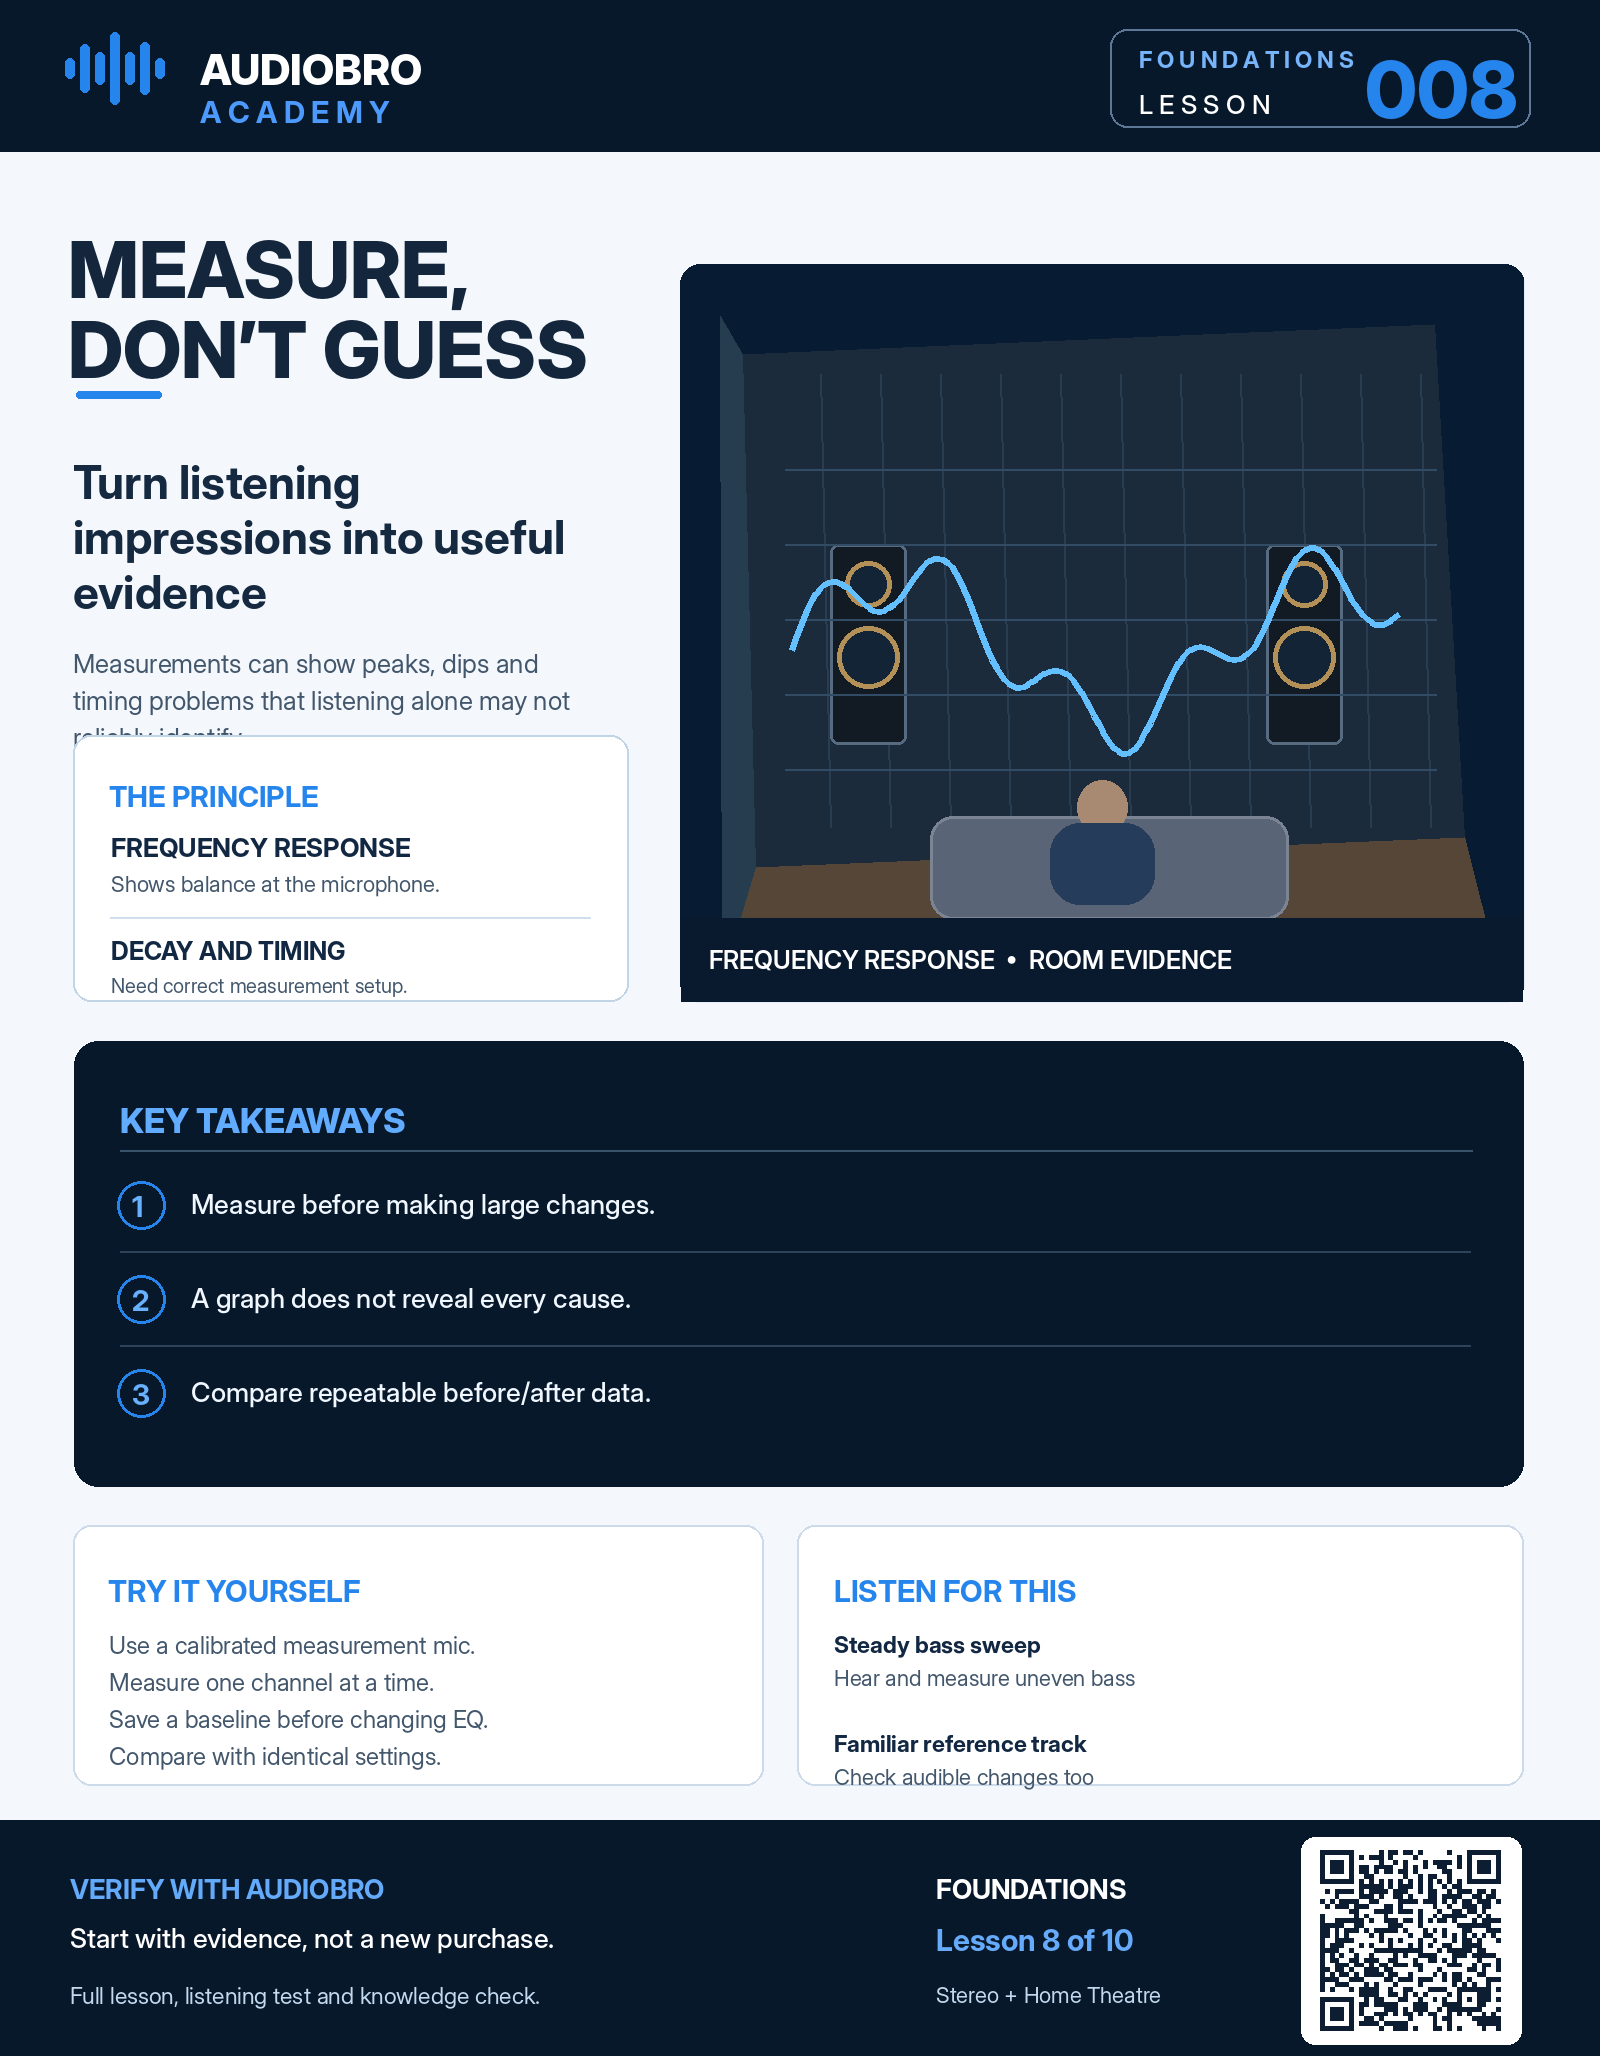
Listening tells you there is a problem. Measurement helps you investigate it.
A system can sound bass-light, boomy or unclear for several different reasons. A frequency-response curve may reveal a dip or peak at the seat, but it cannot automatically identify its cause.
Tools such as Room EQ Wizard (REW) give you objective evidence, provided the microphone and test procedure are appropriate.
Start With a Valid Baseline
Use a measurement microphone with a suitable calibration file where required. Set up REW or comparable software with the correct input, output and sample-rate settings. Begin at a safe playback level.
Place the microphone at a repeatable position near ear height. Measure one speaker or subwoofer at a time when you need to understand which channel is contributing to the result. Label each measurement clearly.
Avoid changing the microphone, volume, EQ and speaker positions simultaneously. Otherwise you will not know which change produced a new graph.
Three Useful Views
Frequency response shows how sound pressure varies with frequency at the microphone. It can reveal peaks, dips and broad tonal trends.
Decay views, such as waterfalls or spectrograms, can help identify low-frequency energy that persists after the signal stops. They require appropriate time windows, measurement quality and interpretation.
Impulse and timing information can help examine arrivals and alignment. It is easy to misread without a reliable timing reference and understanding of the test setup.
What the Graph Does Not Tell You
A deep dip does not announce its cause. SBIR, room modes, speaker response and placement can all contribute. A microphone at one position also does not describe every seat in the room.
Similarly, an equalised graph is not proof that imaging, dynamics, decay or multiple-seat consistency have improved. Measurement and listening are complementary.
Compare Before and After
Save the unmodified baseline. Make one targeted change, then measure again using the same test settings and microphone position. Compare overlays with consistent scaling.
If the change improves the relevant problem at the listening seats you care about, keep it. If it only makes a single line look smoother while sound quality suffers, rethink the decision.
The Big Idea
Measure the result, investigate the cause, change one variable, then verify again.
Key Takeaways
- A measured dip or peak is evidence, not an automatic diagnosis.
- Microphone calibration and repeatable setup matter.
- Response, decay and impulse views answer different questions.
- One microphone position does not represent every seat.
- Save a baseline and compare one controlled change at a time.
Try It Yourself
Capture your first repeatable sweep
- Connect a suitable calibrated measurement microphone and select it in REW.
- Set a comfortable, safe test level; never run excessively loud sweeps.
- Place the microphone at your normal ear height and mark its position.
- Measure the left speaker, right speaker and subwoofer separately if applicable.
- Save the file, then make only one reversible setup change before remeasuring.
Do not attempt detailed phase alignment without a suitable timing reference and reliable measurement method.
Listen For This
A slow, comfortable bass sweep
Listen for regions that become conspicuously louder or weaker, then compare the measured response.
Your familiar reference track
After a change, listen for the real improvement you were targeting, not simply a prettier graph.
Common Misconception
“If REW shows a flat line, the room must sound perfect.”
No. Smooth frequency response is valuable, but it is not the whole picture. Spatial behaviour, timing, distortion, off-axis speaker response and listening preferences matter too.
Verify With AudioBro
AudioBro can explain uploaded REW measurements and connect them with room dimensions, photographs and layout context. It should distinguish measured evidence from geometry-based hypotheses, and recommend verification rather than inventing precise results.
Want the Full Methodology?
Get the complete step-by-step diagnostic protocol.
Explore the Room Diagnostic ProtocolKnowledge Check
What is the best way to compare two speaker positions with REW?
Get the next Academy lesson.
Join the free AudioBro Academy email list for new lessons and occasional practical guides to better sound. Education first, always.
The goal is not a beautiful graph. The goal is better sound supported by evidence.